Abstract Photoshop Tutorial
Welcome To My Website, Here You Get All Editing Effects.These Effects are used in Photo scape and Photoshop. As Always we come up with new effects and tutorials for our viewers.Today We are Introducing Abstract Photoshop Tutorial. In This Tutorial "Abstract Photoshop Tutorial " . This is new technique introduce by respective photoscape owners. We our going to share it with you, we hope that you may take help from it. If you have any question or need help then mail us at our given id.
photoescapeeding@gmail.com
Keep Looking At Our Website:
http://www.effectmaster.com/
Provided By Owner (AymeSoni)
Please must share it with your friends & family. Press above share button.
Materials:-
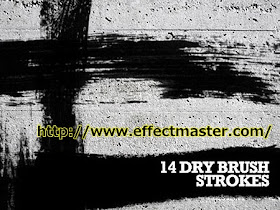
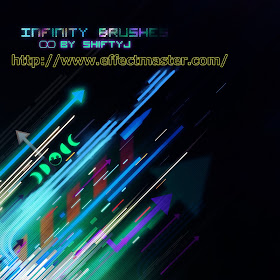
Click on the picture to download brushes used in this tutorial

Process:-
Welcome To My Website, Here You Get All Editing Effects.These Effects are used in Photo scape and Photoshop. As Always we come up with new effects and tutorials for our viewers.Today We are Introducing Abstract Photoshop Tutorial. In This Tutorial "Abstract Photoshop Tutorial " . This is new technique introduce by respective photoscape owners. We our going to share it with you, we hope that you may take help from it. If you have any question or need help then mail us at our given id.
photoescapeeding@gmail.com
Keep Looking At Our Website:
http://www.effectmaster.com/
Provided By Owner (AymeSoni)
Please must share it with your friends & family. Press above share button.
Materials:-
Click on the picture to download brushes used in this tutorial


Process:-
Step 1
Create a new document 1300�1600 pixels. Select the default background layer and go to Filter>Lens Correction. Apply a Vignette effect like shown in the image below. (select the Custom tab instead of Auto Correction)
After applying the vignette effect right click the layer and convert it to Smart Object. Next go toFilter>Noise>Add Noise and add 2% monochrome noise. If you�re using an older version of Photoshop just add noise without converting to smart object.
Step 2
Open the male stock and if you go to the Paths tab in the layers palette you will see that a path already exists. Right Click on it and select Make Selection, leave the default settings and click OK.
With the selection loaded, go back to layers and click the layer mask icon to isolate the man from the background. Merge the layer or apply the layer mask and copy the man on your document and name the layer man.
Step 3
Turn the man into black and white using a Black & White adjustment layer as clipping mask. Use the settings shown in the image below.
Now increase the contrast of the man until his shirt and pants become pure black. Use a curves adjustment layer. See image blow.
Step 4
Create a layer mask for the man layer and grab a few different brush splatter or dirty brushes of your choice (or download some from the links provide) and start masking the man�s legs. I got this result.
After this step, I selected all layers related to the man and I turned them into a single smart object.
Step 5
Now you have to start adding all those dirty strokes and splashes. You have total freedom here. Just grab different brushes and start adding single strokes on new layers below the man layer.
You can also paint with black above the man, blending the brush strokes with the black color of the shirt(that�s why we used Levels to make it pure black). Also use some gray, not just black, you will make it more interesting. I will only put 1 screen shot of what I did. It�s really easy, just add some strokes here and there.
Step 6
Add some colors as well. This is how I added the colorful strokes. I searched for a colored image on DeviantART, (link is at the beginning of the tutorial) placed it on a new layer above the man layer and I masked completely. Then I used a grunge brush and I painted with white over the layer mask to reveal parts of the colored image.
Step 7
Download some abstract vector brushes and add them on new layers above the man layer.
Step 8
Add some more details. I added a big red dot using the circular selection tool and with the same selection tool I made a selection and stroke it with black to create the thin circular shape.
Step 9
Select the hand print brushes and on a new layer paint a hand shape with any color. Now open a fractal image and paste it on a new layer above the layer where you painted the brush and turn it into a clipping mask. Open the other image and paste it above the previous one again as Clipping Mask but this time change the Blend Mode to Soft light.
Step 10
As a last detail I added some text and masked parts of it using splash and grunge brushes again.
Result:-


No comments:
Post a Comment